Finding Your Plot
Your first step isn't actually digging — it's finding the right place. Most councils run waiting lists for allotment plots, and honestly, they move faster than you'd think. Some people get their plot within weeks. Others wait longer, depending on where you live.
Contact your local authority's allotment office or check the National Society of Allotment and Leisure Gardeners (NSALG) website. They'll have current lists. When you're offered a plot, you'll get the basics — plot size (usually between 100-300 square metres), soil condition, and any rules about what you can grow. Some sites are stricter than others about hedge heights and compost bins.
What to Check When You Visit
- Sunlight exposure — most vegetables need 6+ hours daily
- Soil quality — dark, crumbly soil is better than clay
- Water access — a tap nearby saves backache later
- Slope — slightly sloped is fine, but avoid swampy areas
- Neighbouring plots — active neighbours = good site management

Preparing Your Plot
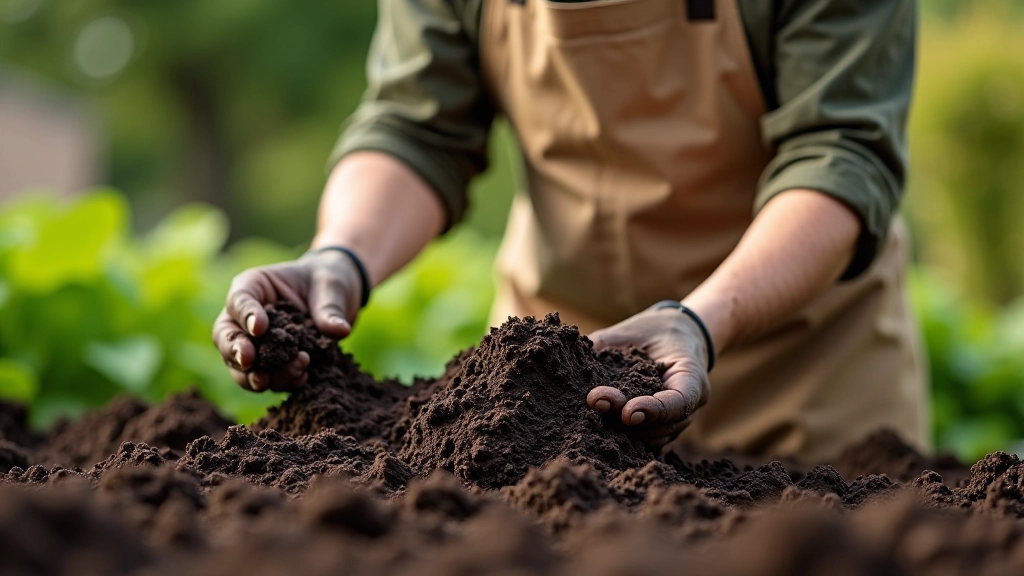
Once you've got your plot, don't panic about the state of it. Overgrown? Weedy? That's normal. You'll need to clear it first — remove old plants, weeds, and rubbish. It's hard work, but you can spread it over a few weekends. Start with the worst areas.
The question everyone asks: raised beds or in-ground growing? Honestly, both work. Raised beds warm up faster in spring and you've got better drainage control. In-ground beds cost less to start and you've got more space. Most people mix both — raised beds for delicate crops, in-ground for root vegetables. Your soil matters here. If it's heavy clay, working in compost or well-rotted manure makes a real difference.
Essential Tools and Setup
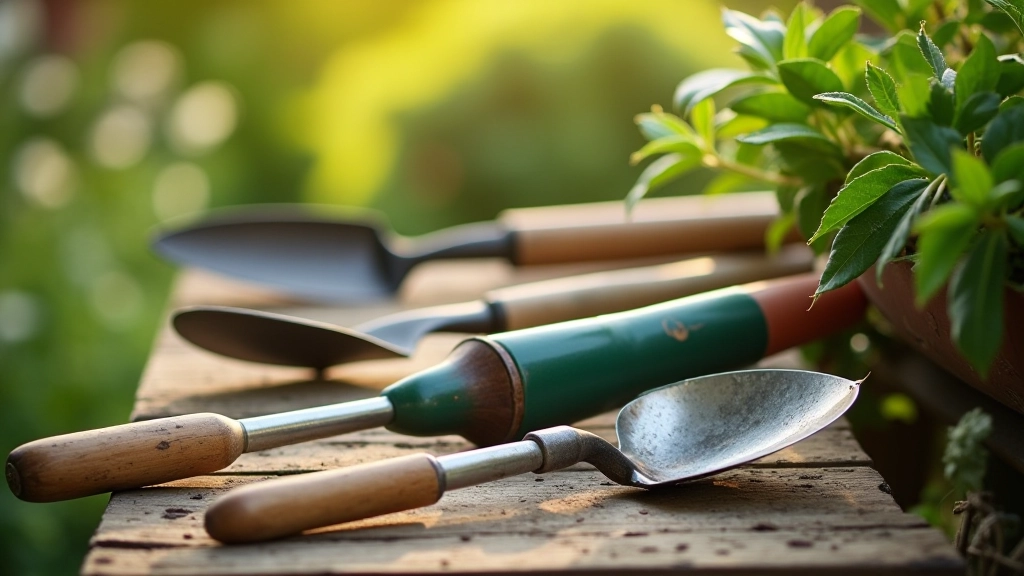
You don't need to buy everything at once. Start with basics: a decent spade, fork, hoe, and rake. A trowel and hand fork come in handy. Don't skimp on tools — cheap ones break when you hit clay. A watering can or hose is essential. Most plots have communal water supplies, but check before you rent.
You'll want storage for tools. A simple shed costs between £200-500, or you can start with a waterproof box. Think about paths too — stepping stones or wood chips prevent you trampling your growing beds. It's not glamorous, but good drainage matters. If water pools after rain, you're in trouble.
Spade & Fork
The foundation of allotment work. You'll use these daily for digging, turning soil, and shifting compost.
Watering Setup
A good hose or watering can prevents drought stress. Drip irrigation saves time if you've got the budget.
Shed or Storage
Keeps tools dry and safe. You'll appreciate this during wet winters.
Compost Bin
Turn garden waste into free soil improver. Most sites have shared facilities too.
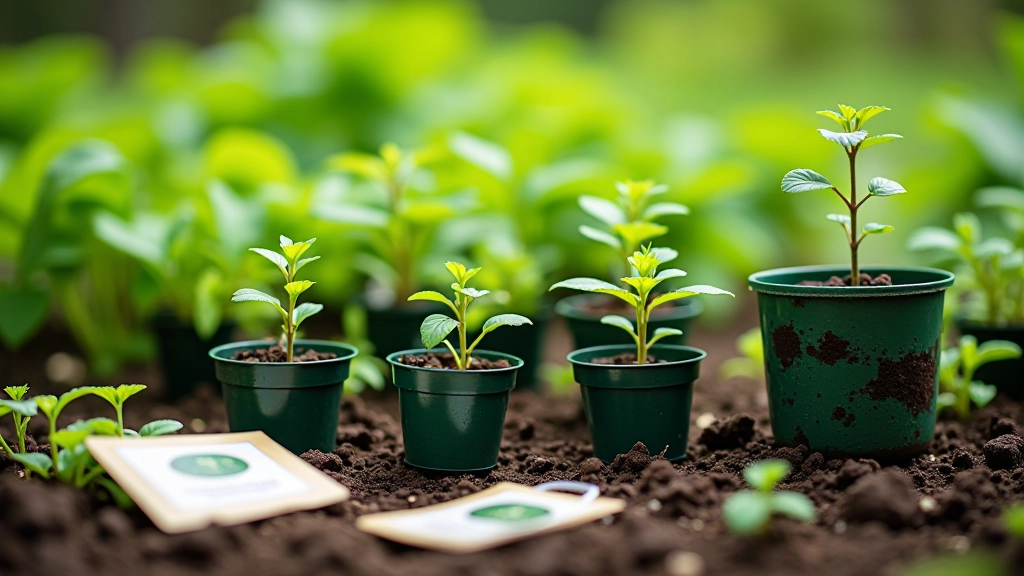
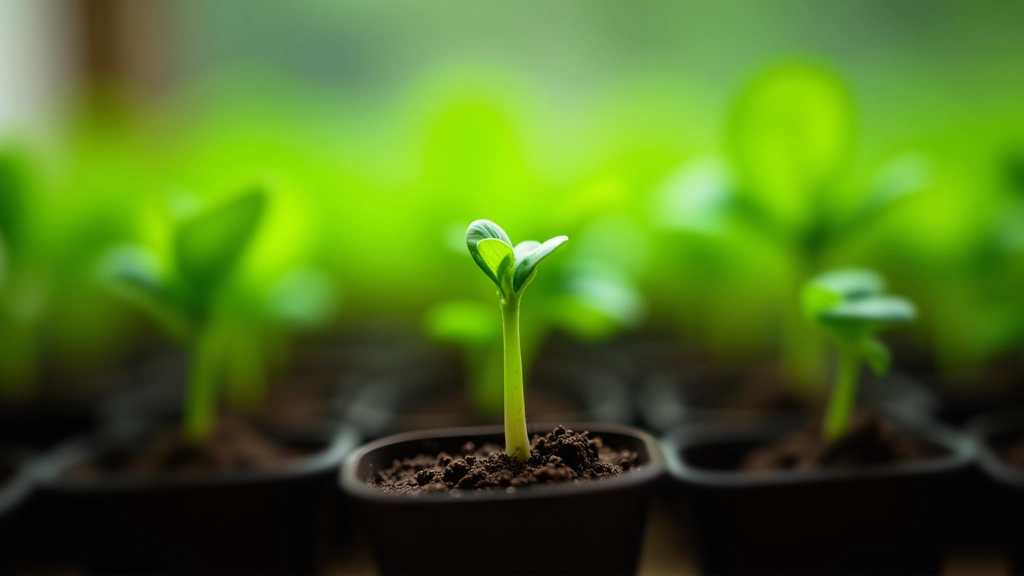
What to Grow in Year One
Don't plant everything. That's the mistake beginners make. Start with 4-5 crops you actually like eating. Courgettes, lettuce, tomatoes, and beans are forgiving. They're also genuinely productive. You'll feel like you've actually grown something rather than struggling with temperamental artichokes.
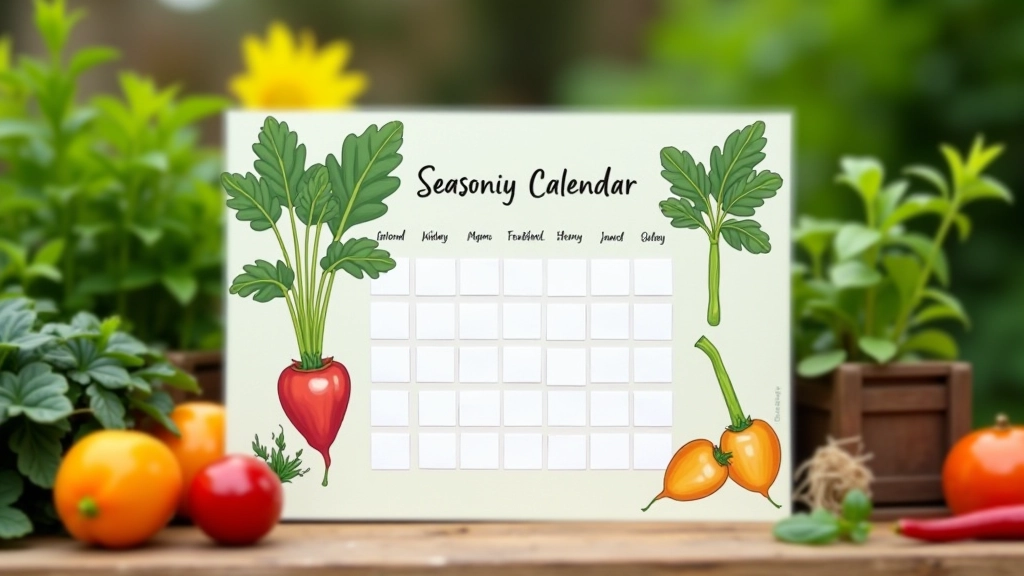
Timing matters. March-April is ideal for most UK gardening. Sow seed potatoes in March, plant beans in May once the frost risk drops. If you're starting late in the year, focus on autumn crops — broccoli, kale, and winter lettuce. The RHS has brilliant sowing calendars specific to your region. Use them. They save so much heartache.
About This Guide
This article provides educational information about starting an allotment plot in the UK. Specific growing requirements, local regulations, and plot conditions vary by region and site. We recommend checking with your local council's allotment office and the RHS for guidance tailored to your location. Soil testing and professional site assessments may be helpful before major investments in infrastructure.
Getting Started Is the Hard Part
Your first season won't be perfect. You'll have crops that fail. You'll forget to water something. You'll spend more time than you expected. That's completely normal. The gardeners you see with perfect plots? They've usually been doing this for years. They've made the same mistakes you will, and they've learned from them.
What matters is that you've started. You've got a plot, you've got basic tools, and you've got a plan for what to grow. That's genuinely most of the battle. By August, you'll be harvesting your own vegetables. By next year, you'll be doing it better. That's how allotment gardening works — gradual improvement, seasonal learning, and increasing confidence. Stick with it.
Ready to Learn More?
Explore our other guides to build your allotment knowledge step by step.
Browse All Guides